A roof can look fine from the sidewalk and still have a leak starting at a chimney, vent pipe, parapet wall, or skylight. That is why knowing how to inspect roof flashing matters. Flashing is the metal or membrane material that seals the vulnerable transitions in a roofing system. When it fails, water finds its way behind the roof covering and into the building.
For New York City property owners, flashing takes a beating. Snow and ice, wind-driven rain, summer heat, debris buildup, and the freeze-thaw cycle can pull apart seals and loosen fasteners. A careful visual check twice a year, plus an inspection after a major storm, can catch a small repair before it turns into damaged ceilings, wet insulation, mold, or masonry deterioration.
Start With a Safe Ground-Level Check
Do not climb onto a steep roof, a wet roof, or a roof you are not trained and equipped to access. A pair of binoculars, a phone camera with zoom, and a view from a safe ladder position can reveal many obvious flashing problems. On commercial and low-slope roofs with safe access, walk only on designated paths or areas that will not damage the roofing membrane.
Look closely at every place where the roof meets something else. Common flashing locations include chimneys, dormers, skylights, plumbing vent pipes, HVAC curbs, roof edges, wall intersections, valleys, and parapet walls. On flat and low-slope roofs, inspect the perimeter edge metal, pitch pans around penetrations, drains, scuppers, and seams where flashing ties into the field membrane.
Your goal is not to diagnose every detail from a distance. It is to spot changes: lifted metal, dark staining, open joints, rust, missing pieces, or anything that looks different from the surrounding roof.
How to Inspect Roof Flashing Up Close
If the roof can be accessed safely, begin by clearing loose leaves and branches away from the area. Do not use sharp tools that can puncture shingles or roofing membrane. Brush debris aside gently so you can see the edges, seams, and sealant lines.
Check for lifted edges and open seams
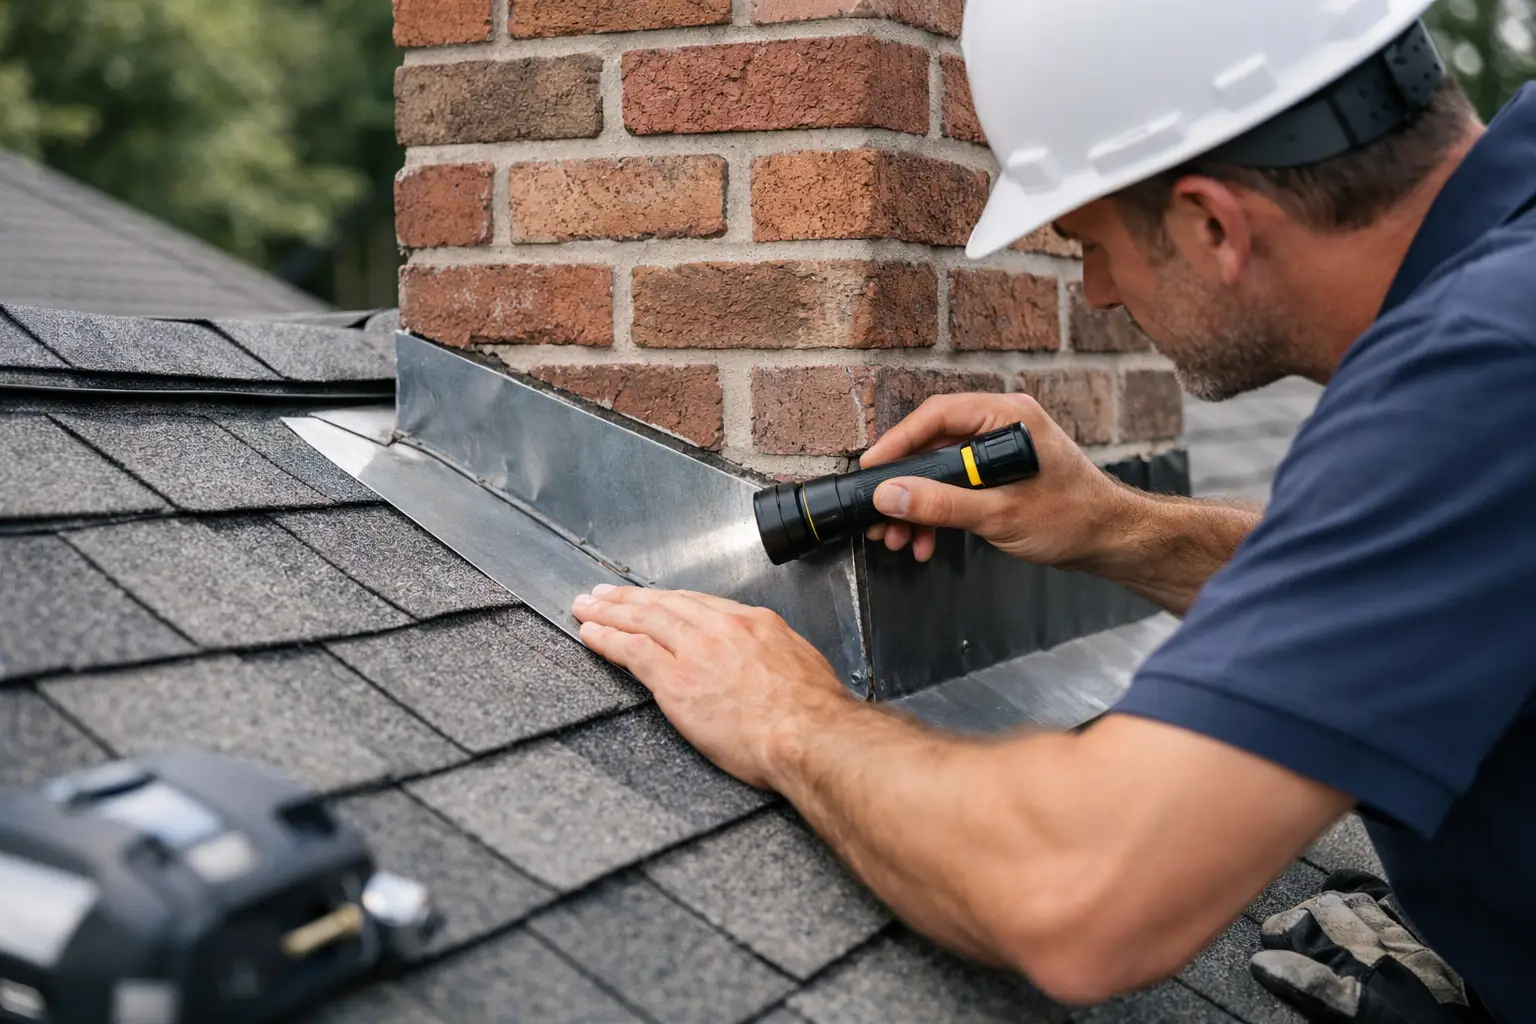
Flashing should sit tight against the surface it is protecting. Look for corners that have curled upward, gaps between metal sections, or sections that have pulled away from brick, siding, stucco, or roofing material. Even a narrow opening can admit wind-driven rain.
Pay special attention to step flashing along sidewalls and chimneys. Each piece should overlap correctly under the shingles. If shingles are cracked, missing, or lifted around the flashing, water may be getting behind the metal even if the flashing itself appears intact.
On membrane roofs, inspect flashing seams where TPO, EPDM, modified bitumen, or other roof material turns up a wall or wraps around an equipment curb. Watch for separation, wrinkles, punctures, failed patches, or membrane pulling away at the top edge.
Look for corrosion, cracks, and damaged sealant
Metal flashing can corrode over time, especially where water sits or where incompatible metals are in contact. Surface discoloration is not always an emergency, but flaking rust, pinholes, deep pitting, or thinning metal calls for professional attention.
Sealant is another common failure point. Check caulk and roofing cement around counterflashing, vent pipes, fasteners, and transitions. Cracked, dried-out, shrunken, or missing sealant is a warning sign. Sealant can help reinforce a detail, but it should not be the only thing holding flashing in place. A thick smear of tar often hides a prior repair and may mean the underlying flashing detail needs a closer look.
Inspect fasteners and termination points
Loose or backed-out screws allow metal flashing to move in the wind. Missing fasteners are equally concerning, particularly at roof edges, wall flashing, and HVAC curbs. Check for exposed fastener heads with deteriorated washers or sealant.
At wall transitions, look at the termination bar or counterflashing that secures the roofing material to the wall. There should be no visible gap that allows water to run behind it. On brick buildings, failing mortar joints above or around counterflashing can also send water behind the roof system. The roof and masonry often need to be evaluated together.
Inspect the Areas Where Water Collects
Flashing problems become more serious when drainage is poor. Water that repeatedly pools near a wall, chimney, drain, or roof penetration puts constant pressure on seams and sealants. On a flat roof, standing water that remains more than 48 hours after dry weather should be investigated.
Check roof drains, scuppers, gutters, and leaders for blockage. Leaves, tennis balls, plastic bags, and roof debris can cause water to back up against flashing details. On a residential sloped roof, look for clogged gutters or overflowing leaders that soak the fascia and edge flashing.
In the Bronx and throughout NYC, drainage issues can be especially costly because dense urban properties often have limited roof access and closely connected building components. Water that escapes one flashing detail may travel far before it appears inside, making the source harder to locate.
Check Inside the Building Too
A roof flashing inspection is not complete without looking below the roofline. In the attic, top-floor storage area, mechanical room, or ceiling below the suspect area, look for fresh water stains, damp insulation, peeling paint, bubbling plaster, mold odor, or active drips.
Use a flashlight to inspect framing and roof decking around chimneys, skylights, and vent pipes. Water marks may be old, so touch the area carefully and look for dampness or soft material. If a stain grows after rain or appears around a roof penetration, flashing is a likely suspect.
For commercial properties, maintenance staff should document the exact room, ceiling area, and timing of any leak. A photo taken during or shortly after rainfall gives a roofing contractor a more useful starting point than a general report of “water on the top floor.”
Know Which Signs Need Fast Repair
Some flashing defects can be scheduled as routine maintenance. Others need prompt action because water may already be entering the roof assembly. Arrange a professional inspection quickly if you see:
- Active leaking, wet ceilings, or water running down an interior wall.
- Loose or missing flashing after high winds.
- Open seams, holes, or rusted-through metal around a chimney, wall, or penetration.
- A sagging roof edge, soft decking, or masonry that is separating near flashing.
- Repeated leaks in the same area after previous patching.
Do not wait for a larger storm to test the roof. Temporary patching may reduce water entry, but a repeated leak usually means the flashing design, roof membrane, shingles, drainage, or wall condition needs a proper repair.
Avoid Common Inspection Mistakes
The biggest mistake is focusing only on the visible metal. Flashing works as part of a system. A chimney may have sound counterflashing but failing step flashing below the shingles. A flat roof may have intact-looking edge metal but an open membrane seam underneath. Water can also enter through cracked masonry or failed siding above the flashing and show up as a roof leak.
Another mistake is treating every crack with caulk. The right repair depends on the roofing material and the reason the flashing failed. A loose piece may need new fasteners and proper overlap. Corroded metal may need replacement. A split membrane flashing may require compatible welding, primer, adhesive, or reinforcement. Using the wrong material can make the leak worse and may affect a roof warranty.
Finally, do not pressure-wash flashing or blast it with a hose to “test” for leaks. High-pressure water can force moisture under otherwise sound roofing components. If a controlled water test is needed, it should be performed methodically by a qualified roofing professional.
When to Bring in a Roofing Professional
A visual check helps you stay ahead of maintenance, but it cannot confirm what is happening beneath shingles, membrane seams, or wall flashing. Call a licensed and insured roofer when you find damage, have an active leak, or own a larger commercial or multifamily building where a missed problem can affect several units.
A professional inspection should identify the source of the issue, not just cover the symptom. Ask for clear photos, an explanation of the condition, and a repair recommendation that matches your roof type. Global City Restoration helps NYC property owners assess flashing, drainage, roofing membranes, and related exterior conditions so repairs address the full path water is taking.
A small gap at flashing is easy to overlook. Catching it before the next hard rain is one of the most practical ways to protect the roof, interior spaces, and value of your property.