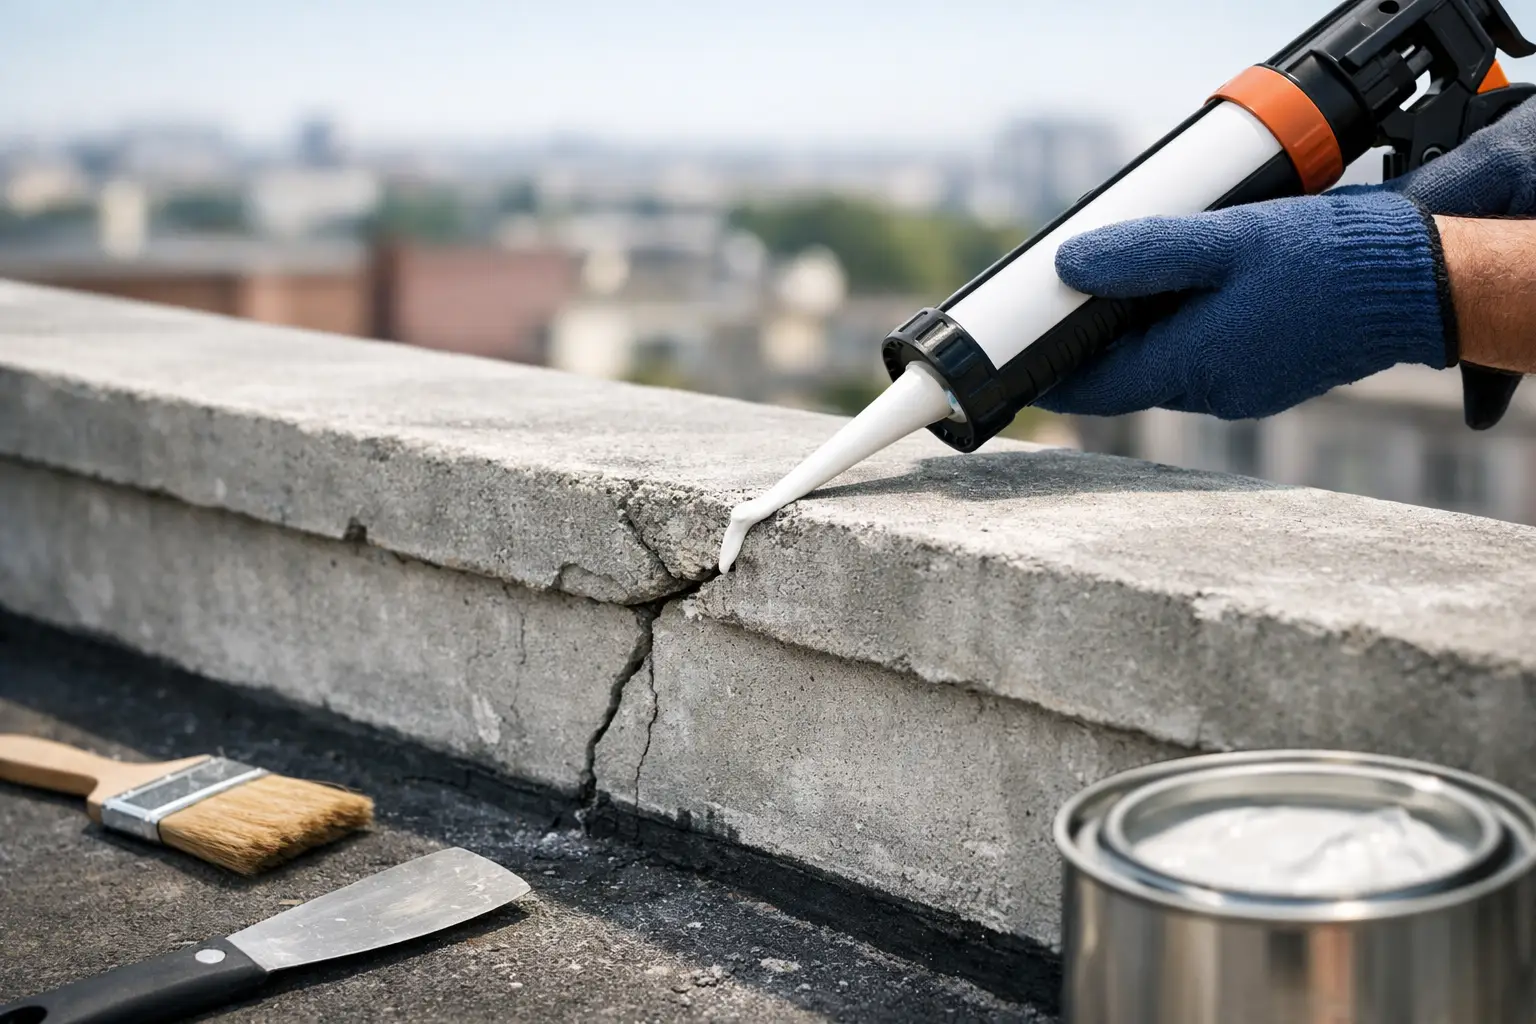
A parapet crack can look minor from the street while letting rain travel behind the wall, into roof edges, and down through interior masonry. Knowing how to seal parapet wall cracks early can stop a small maintenance issue from becoming a roof leak, damaged ceilings, loose brick, or a more involved façade repair.
For New York City properties, parapets take a beating. Summer heat expands materials, winter freeze-thaw cycles widen openings, and wind-driven rain finds its way into the smallest failed joint. The right repair depends on whether the crack is in a sealant joint, mortar joint, brick, coping stone, or the roof flashing where the parapet meets the roof.
Start by Finding the Source of the Crack
Do not apply sealant until you understand what has failed. A crack at the top of a parapet may be caused by loose or shifted coping stones. A vertical crack in a mortar joint may point to weathering, while a long horizontal crack can indicate movement, water pressure, or deteriorated masonry. Cracks at the roof line often involve failed flashing or a separation between the roofing membrane and the wall.
Inspect the parapet from the roof where it is safe to do so. Look for open joints, missing mortar, crumbling brick faces, rust stains, loose coping, bubbling paint, white powdery efflorescence, and soft or stained masonry. On the interior side, check the ceiling and upper walls near the parapet for water marks, peeling paint, or active moisture after rain.
Take photos before starting. They help document the condition and make it easier to see whether the crack is growing over time. If you can move a brick, coping stone, or metal cap by hand, stop there. That is no longer a simple sealing job.
When Sealing Is the Right Repair
A flexible exterior-grade sealant can work well for narrow, stable cracks and gaps around metal flashing, coping joints, pipe penetrations, and transitions between different materials. It is also useful after damaged mortar has been properly repaired and cured, where a specific movement joint needs weather protection.
Sealant is not a substitute for rebuilding failed masonry. If mortar joints are recessed, loose, or missing across a section of wall, the appropriate repair is usually repointing. If bricks are cracked through, spalled, or loose, they may need replacement. Covering these conditions with caulk can trap moisture, hide deterioration, and delay the repair until it becomes more expensive.
The same rule applies to roof connections. If the roofing membrane has pulled away from the parapet, a bead of caulk alone will not restore a watertight roof system. The membrane, flashing, termination bar, and counterflashing may all need attention.
Materials for Sealing Parapet Wall Cracks
For a small, stable exterior crack, use products designed for masonry and exterior exposure. The exact material matters because a parapet is exposed to standing water, UV light, temperature swings, and wind-driven rain.
You will generally need:
- A wire brush, scraper, utility knife, and stiff broom for removing loose material
- Exterior polyurethane or hybrid masonry sealant that remains flexible after curing
- Backer rod for deeper gaps, so the sealant can move correctly instead of being packed too deeply
- Masonry patch or compatible repair mortar for shallow missing sections of mortar or brick face
- A caulk gun, gloves, eye protection, and a small pointing trowel
Avoid using interior latex caulk, rigid patching compounds, or expanding foam as the finished exterior repair. They may look acceptable at first but often break down under weather exposure or fail to accommodate movement. Select a sealant rated for exterior masonry and verify that it can be painted if the wall is painted.
How to Seal Parapet Wall Cracks Step by Step
Clean and prepare the opening
Remove every loose fragment from the crack. Use a wire brush and scraper to clear failing paint, dust, old caulk, crumbling mortar, and debris. The sealant must bond to sound, dry material, not to loose residue.
If the crack is very narrow, carefully open it enough to remove weak material and create a clean bonding surface. Do not aggressively grind into brick or enlarge a crack without a reason. Vacuum or brush away dust, then allow the area to dry completely. Applying sealant to wet masonry is a common reason repairs fail early.
Repair missing mortar before applying sealant
If the opening is a deteriorated mortar joint, remove the weak mortar and repoint it with a compatible mortar repair material. Match the repair to the existing masonry as closely as possible. Older brick can be damaged by mortar that is too hard, so this is an area where professional judgment matters.
Let the mortar repair cure as directed by the manufacturer. Once it is stable, inspect nearby transitions for gaps that still need flexible sealant, especially where masonry meets metal coping, flashing, or roof materials.
Install backer rod in deep gaps
For a deep or wide movement joint, press foam backer rod into the opening before adding sealant. It controls sealant depth and helps the bead stretch and compress as the materials move. The backer rod should sit below the surface, leaving room for an even sealant bead.
Do not force sealant into a deep void without backer rod or an appropriate bond-breaker. Sealant bonded on three sides can tear as the parapet and adjacent materials expand and contract.
Apply the sealant in a continuous bead
Cut the nozzle to match the crack width. Apply one steady, continuous bead, making sure the sealant contacts both sides of the joint. Fill the gap fully without creating large blobs that collect water or look unfinished.
Tool the bead right away with a putty knife or gloved finger, depending on the product instructions. A slightly concave, smooth joint usually sheds water better than a raised bead. Check that the sealant has not bridged over an empty void or left pinholes at the edges.
Protect the roof-to-wall connection
Pay close attention to the base of the parapet. This is where many leaks begin because water can enter behind flashing and travel beneath the roof membrane. If you see loose flashing, open membrane seams, cracked roof cement, or separation at the wall, treat it as a roofing repair, not just a masonry crack.
On flat and low-slope roofs, standing water makes this connection even more vulnerable. A sound parapet repair must direct water back onto the roof surface and toward working drains or scuppers, not into the wall assembly.
Do Not Ignore Coping and Cap Problems
The top of the parapet is its first line of defense. Coping stones, brick caps, metal caps, and through-wall flashings should shed water away from the wall. When joints between coping stones crack, water can soak into the parapet from above and emerge as staining or leaks much lower down.
Sealing a narrow coping joint can be appropriate when the units are solid and stable. But loose, cracked, sloped incorrectly, or missing coping needs more than caulk. It may require resetting, replacing, or rebuilding sections so water cannot keep entering from the top.
Metal parapet caps deserve the same attention. Look for open end laps, failed fasteners, punctures, rusted seams, and gaps where the cap meets the wall. A properly installed cap and flashing system will usually do more for long-term waterproofing than repeatedly sealing surface cracks.
When to Call a Professional
A property owner can handle small, accessible cracks in stable masonry. Call a qualified roofing and exterior restoration contractor when cracks are wider than about one-quarter inch, keep returning after repair, run through brick units, or appear alongside bowing, loose masonry, or interior leaking.
Professional help is also the safer choice for multi-story buildings, difficult roof access, damaged coping, parapet flashing failures, and any condition that could create falling-masonry hazards. In the Bronx and across NYC, parapet work may involve building requirements, façade conditions, and access challenges that should be evaluated before repairs begin.
Global City Restoration approaches these repairs by identifying the actual water path first. That may mean sealing a stable joint, repointing deteriorated masonry, repairing roof flashing, improving drainage, or combining those repairs for a lasting result. Clear photos and a straightforward explanation should come before work starts.
After the repair cures, inspect the area following the next heavy rain. A dry interior, intact sealant bead, and no new staining are good signs, but continue checking the parapet each season. Catching a failed joint before winter is one of the most affordable ways to protect the roof, masonry, and spaces below it.