A water stain near a fireplace is rarely just a ceiling problem. Water can enter where the chimney meets the roof, travel along framing or masonry, and show up several feet away from the actual opening. That is why roof flashing repair for chimneys needs a careful inspection, not a quick patch over the visible leak.
For Bronx and NYC property owners, this area takes a beating. Wind-driven rain, snow buildup, freeze-thaw cycles, summer heat, and aging masonry can all weaken the seal around a chimney. A properly repaired flashing system directs water back onto the roof surface. A failed one lets water into the building envelope, where damage becomes more expensive by the season.
What Chimney Flashing Is Supposed to Do
Chimney flashing is the metal waterproofing system installed at the joint between the roof and chimney. Because a chimney is a fixed vertical structure and the roof has its own layers, that connection cannot rely on roofing shingles or membrane alone. It needs properly layered flashing that sheds water instead of trapping it.
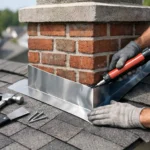
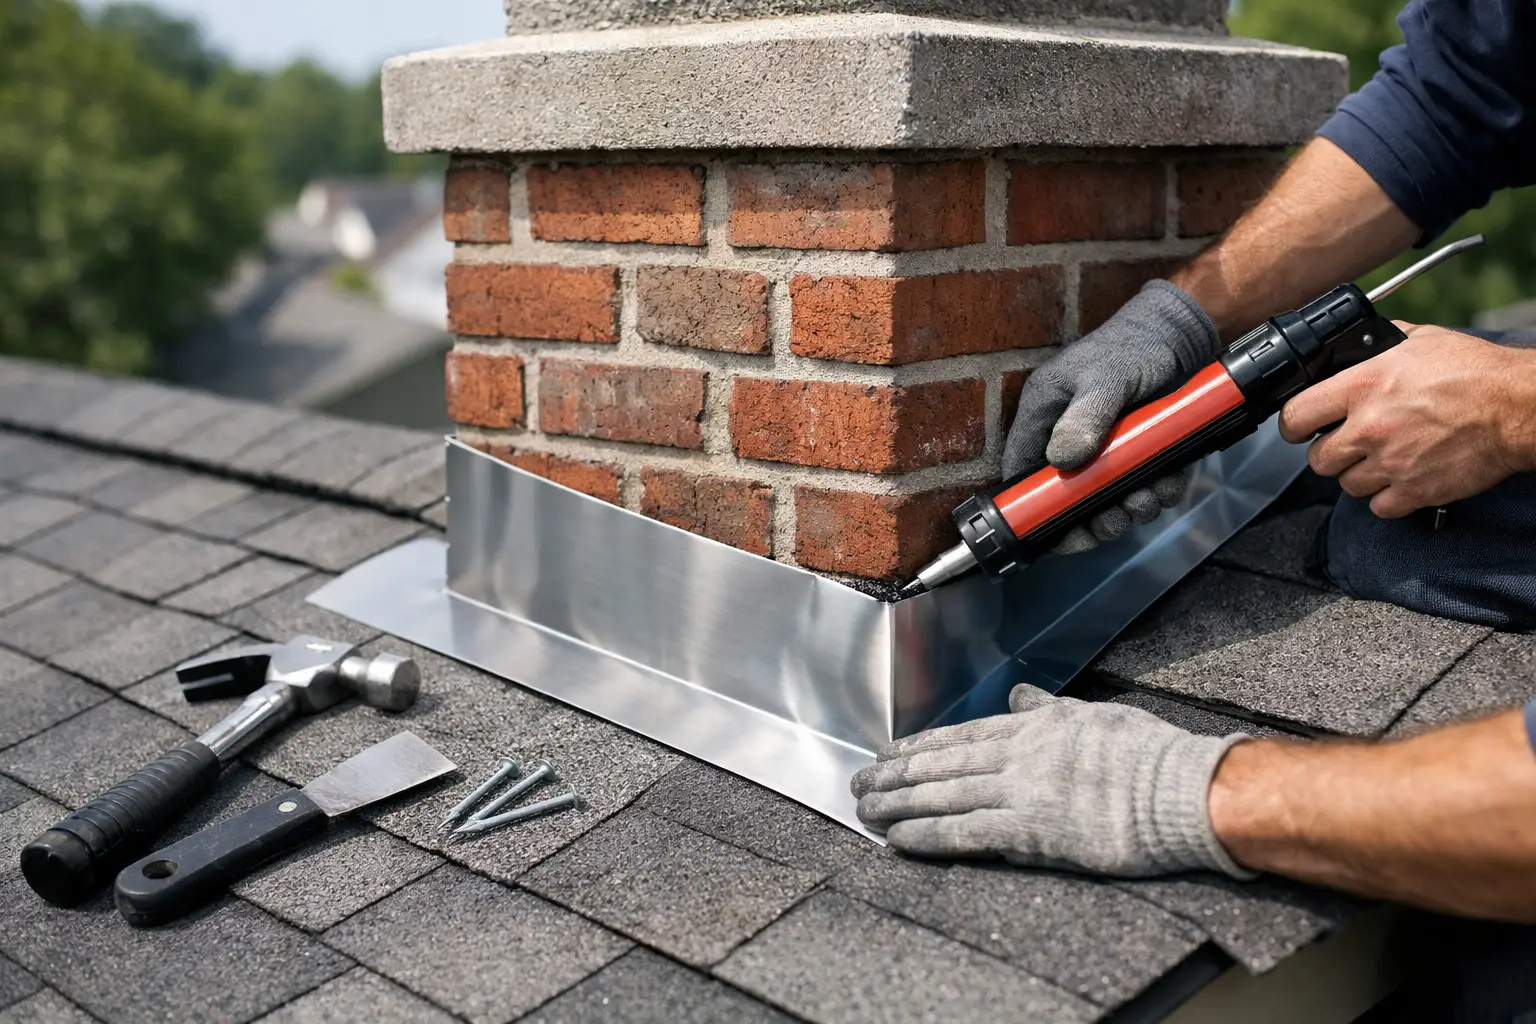
On a shingle roof, the system commonly includes base flashing along the roof surface and step flashing woven into the shingle courses at the sides. Counterflashing is set into the chimney mortar joints or otherwise secured over the top edge of the base flashing. At the high side of a wider chimney, a cricket may be needed to split and divert water around the structure.
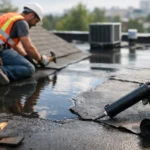
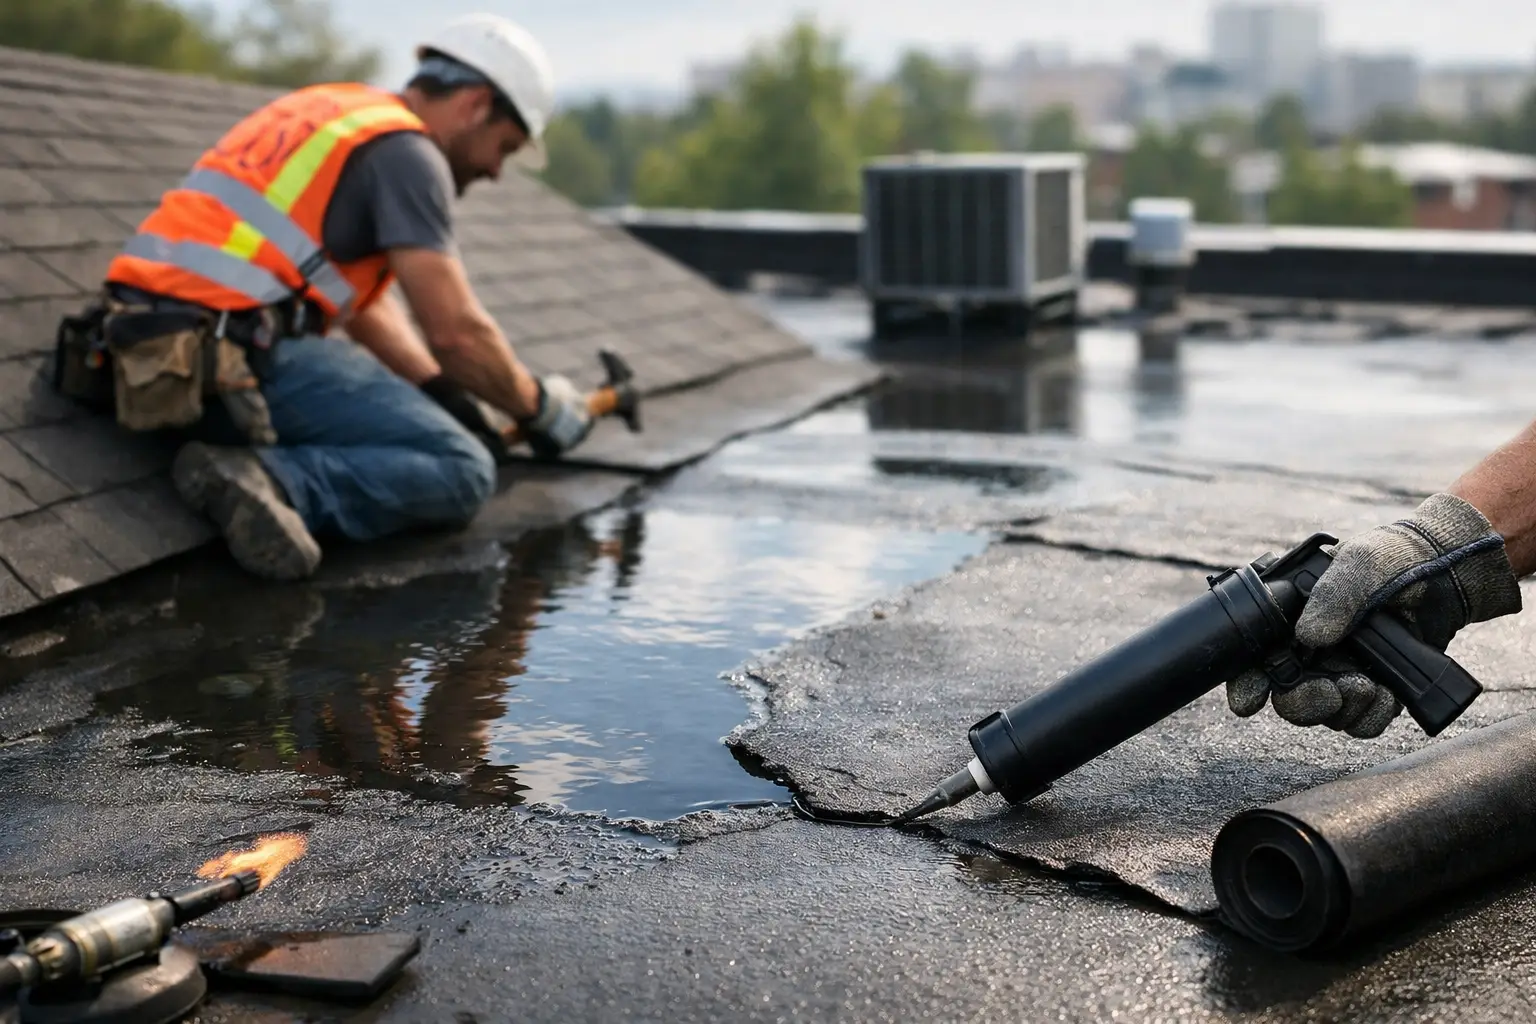
Flat and low-slope roofs use a different approach. The roof membrane must be carried up the chimney base and tied into compatible flashing details. On EPDM, TPO, modified bitumen, hot roofing, and 4-ply systems, the materials and installation method must match the existing roof system. Mixing products carelessly or relying on exposed caulk often creates another failure point.
Signs You May Need Roof Flashing Repair for Chimneys
The most obvious warning sign is active leaking during or shortly after rain. But chimney flashing failures often give quieter signals first. Watch for stained ceilings or walls near the chimney, peeling paint, damp insulation in the attic, or a musty odor after wet weather.
Outside, look for rusted metal, lifted flashing edges, cracked sealant, missing shingles beside the chimney, loose mortar, or gaps between the flashing and masonry. Efflorescence – a white, chalky residue on brick – can also point to repeated moisture movement through the chimney. It does not automatically mean the flashing is the only problem, but it deserves attention.
A leak that appears only during heavy wind-driven rain may indicate a gap on one side of the chimney. A leak after snow melts can point to ice, poor drainage, or a deteriorated high-side flashing detail. If water enters after nearly every storm, the roofing layers, masonry, and flashing should all be evaluated together.
The Leak Is Not Always the Flashing
Chimneys have several possible water entry points. A cracked crown, missing chimney cap, damaged flue liner, open mortar joints, or porous brick can send water into the same general area as a flashing leak. On older NYC buildings, masonry movement and worn pointing can complicate the diagnosis.
A dependable inspection starts at the roof and follows the evidence. The contractor should examine the flashing laps, the condition of the roof covering around the chimney, the high-side drainage path, and the masonry above the roofline. From inside, attic staining and wet insulation can help identify how far water has traveled.
This matters because applying roof cement around the chimney may temporarily slow a leak while leaving failed counterflashing or damaged brick untouched. The result is a repair that looks finished from the ground but continues allowing moisture behind the roof system.
Repair Options Depend on the Condition
The right repair depends on whether the problem is a small localized defect or a failing system. When the metal is sound and properly installed, minor work may involve resealing a limited joint, replacing damaged fasteners, or repairing a small opening in compatible roofing material. Sealant is a finishing component, not a substitute for correct flashing layers.
When flashing is rusted through, bent, improperly lapped, or pulled away from the chimney, replacement is usually the better investment. This may require removing shingles, roof membrane, or other surrounding materials so new flashing can be integrated correctly. Reusing compromised metal to save a small amount upfront can lead to another leak and a larger repair later.
Counterflashing deserves special attention. On masonry chimneys, it should protect the top edge of the base flashing and be secured in a durable manner. If it is simply surface-mounted with failing caulk, wind and water can work behind it. A proper detail may involve cutting or using existing mortar joints and then sealing them correctly.
For a chimney that sits on the upper portion of a sloped roof, a cricket can be a practical improvement. This small peaked structure sends water, snow, and debris around the chimney rather than allowing them to collect behind it. Whether a cricket is needed depends on chimney width, roof slope, drainage conditions, and the roofing system.
If the roof itself is near the end of its service life, isolated flashing work may not be the most cost-effective choice. Replacing the roof and chimney flashing together provides a cleaner tie-in and helps avoid disturbing a worn roof twice. A good contractor should explain that trade-off plainly instead of pushing a full replacement when a targeted repair will do.
Why NYC Weather Makes Details Matter
New York City roofs deal with more than ordinary rainfall. Winter snow can remain behind a chimney, melt during the day, and refreeze overnight. That repeated movement stresses seams and sealants. Heavy summer storms can force water sideways under loose edges, especially on exposed upper roofs.
Low-slope commercial and multi-family roofs have their own concerns. Standing water near a chimney curb or penetration can expose weak membrane seams and flashing transitions. Drainage has to be considered along with the chimney detail. Repairing the flashing without addressing blocked drains, poor slope, or damaged roof surfaces may only solve part of the problem.
Code-compliant work is also important in a dense urban setting. Materials, fastening methods, fire considerations, and roof access all need to suit the building and its roofing assembly. Licensed and insured roofing professionals can identify when a repair overlaps with masonry restoration, drainage correction, or broader waterproofing work.
Can You Repair Chimney Flashing Yourself?
Homeowners can safely handle basic observation from the ground or attic, such as documenting stains, loose visible pieces, and the timing of leaks. Taking photos after a storm can help establish the pattern. Keep gutters and roof drains clear when they can be reached safely, since backups can worsen roof-edge and chimney-area leaks.
The repair itself is usually not a good DIY project. Roof work involves fall hazards, fragile materials, hidden rot, and details that must be layered in the correct order. A tube of caulk may make a gap disappear for a few months, but it can also conceal the condition long enough for water to damage sheathing, framing, insulation, and interior finishes.
Avoid letting anyone rely on tar alone as a permanent flashing solution. Roofing cement has limited uses for temporary emergency protection, but exposed patches crack over time and do not replace correctly installed metal or membrane flashing.
What a Professional Chimney Flashing Repair Should Include
A thorough repair begins with an honest assessment of the chimney, roof, and drainage around it. You should receive a clear explanation of what failed, what materials will be used, and whether the repair is localized or connected to a larger roofing issue. Photos before and after the work are especially useful for landlords, property managers, and owners who cannot be on-site.
The crew should protect the surrounding roof, remove failed materials as needed, install compatible flashing in proper sequence, and restore the adjacent shingles or membrane so water flows onto the roof rather than behind it. If masonry is deteriorated, that should be addressed or clearly separated from the roofing scope. The work area should then be cleaned, and the repair should be reviewed with the owner.
Global City Restoration approaches chimney-area leaks as an exterior protection issue, not just a spot to cover. A dedicated project manager can help property owners understand the condition, repair options, and practical next step without confusion.
Do not wait for a small chimney leak to become damaged ceilings, wet framing, or a major roof repair. A timely inspection after the first signs of water can protect the roof, masonry, and the investment underneath them.