
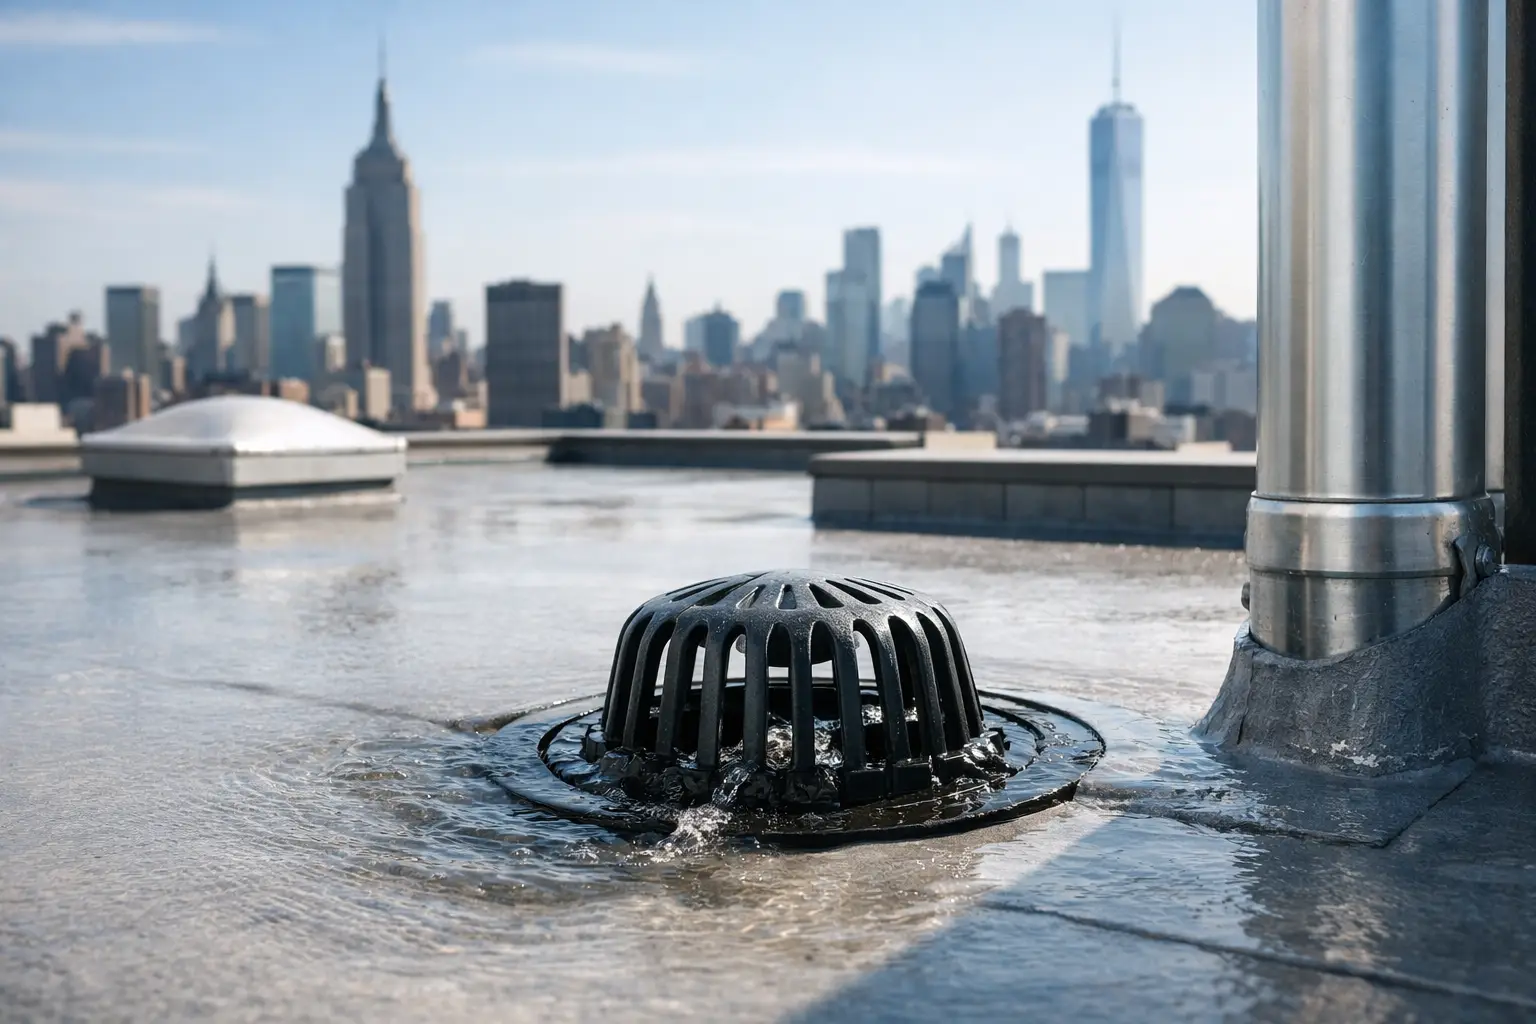
A roof can have quality membrane, flashing, and insulation and still fail early if water has nowhere reliable to go. Roof drainage design basics come down to one job: collect rain and snowmelt, move it off the roof quickly, and discharge it away from the building without causing damage below. In New York City, where heavy downpours, freeze-thaw cycles, wind-driven rain, and snow loads all put pressure on a roof system, that job cannot be treated as an afterthought.
For homeowners, landlords, and commercial property managers, drainage problems often show up as ponding water, interior stains, overflowing gutters, leaking parapet walls, or ice near walkways. The visible issue may be small, but the source can involve roof slope, undersized drains, clogged leaders, poor flashing, or neglected maintenance. A proper assessment looks at the entire path water takes from the roof surface to the final discharge point.
Roof Drainage Design Basics Start With Water Flow
Every drainage system needs a clear, continuous route. On a pitched residential roof, water typically runs down the roof planes into gutters, then through downspouts or leaders. On a flat or low-slope roof, water is directed by built-in slope toward roof drains, scuppers, or edge drainage systems.
The goal is not to make a roof perfectly dry during a storm. The goal is to prevent water from sitting long enough to stress seams, infiltrate flashing details, overload structural areas, or find a way into the building. On low-slope roofs, brief shallow water during active rainfall can occur. Water that remains for days after dry weather is a warning sign worth investigating.
Drainage design also has to account for where the water goes after it leaves the roof. A downspout that empties against a foundation, onto a lower roof, or across a public walkway simply relocates the problem. In dense Bronx and NYC properties, leaders, sidewalk conditions, neighboring buildings, and existing drainage connections all need careful planning.
Slope Is the First Line of Defense
Roof slope determines how water naturally moves. Steep-slope roofs use their pitch to shed water quickly, but they still depend on correctly installed gutters, drip edges, valleys, and flashing. Valleys deserve particular attention because they receive runoff from two roof sections at once and can carry a large volume of water during a storm.
Flat roofs are not actually meant to be flat. They need positive drainage toward designated outlets. This slope may be created with tapered insulation, sloped fill, deck design, or a combination of those methods. The right approach depends on the roof structure, existing height restrictions, door thresholds, parapet walls, and the condition of the current roof assembly.
Adding a new membrane over an old low-slope roof without addressing major low areas can leave the same drainage failure in place. The new roof may look clean on day one, but standing water will continue to work on seams, penetrations, and aging drain components. In many cases, correcting slope during roof replacement costs less than repeatedly repairing the same ponding-related leaks later.
Ponding Water Is a Symptom, Not a Diagnosis
Ponding water may be caused by inadequate slope, blocked drains, a depressed deck, compressed insulation, or a roof that has settled over time. It can also develop when a prior repair creates a dam that interrupts the intended water path.
The solution depends on the cause. Cleaning a clogged drain can solve an isolated issue. Rebuilding a low section, adding tapered insulation, or installing additional drainage points may be necessary when the problem is built into the roof layout. A contractor should inspect the roof after rainfall when possible, because dry-weather inspections do not always reveal how water actually travels.
Choose the Right Drainage Components
Drainage components should match the roof type, roof area, expected water volume, and building layout. There is no one-size-fits-all setup.
On low-slope commercial and multi-family roofs, internal roof drains are common. They collect water through a drain bowl and carry it through interior piping. Proper clamping rings, strainers, drain flashing, and membrane connections are critical. A small failure at a drain detail can allow water into the roof assembly even when the surrounding membrane looks intact.
Scuppers are openings through parapet walls that allow water to exit at the roof edge. They can work well when they are correctly sized, properly flashed, and connected to leader heads or downspouts. They should not be the only line of defense on a roof where blockage could cause water to rise against walls or door openings.
Gutters and leaders are the usual system for shingles, tile, steel, and other pitched roofing. Gutter size, hanger spacing, outlet placement, and leader capacity all affect performance. A gutter that is too small or poorly pitched can overflow in a heavy storm even when it is clean. On older buildings, loose gutters can also pull away from deteriorated fascia, allowing water to damage wood, masonry, and siding.
Emergency overflow drainage matters on roofs with internal drains or enclosed parapets. Secondary drains or overflow scuppers provide a visible escape route if primary drains clog. They are not a substitute for cleaning and maintenance, but they can reduce the risk of water loading the roof beyond what it was designed to hold.
Size the System for Real Storm Conditions
Drainage capacity should be based on roof area and local rainfall requirements, not guesswork. A small roof may need only a modest gutter system, while a large apartment building or commercial property can send thousands of gallons toward drains during a severe storm.
This is where details matter. The layout must consider the contributing roof area for each drain or gutter section, the length of valleys, the number of outlets, pipe capacity, and possible obstructions. A roof with several sections draining to one narrow valley or one undersized scupper can fail during the exact weather event when protection matters most.
New York City properties also face snow and ice. Snow may block scuppers, freeze around drains, or create ice dams at roof edges when heat escapes from the building. The answer is not always to add more drainage hardware. It may involve improving insulation and ventilation, sealing air leaks, adjusting roof details, or fixing inadequate slope. Good drainage design works with the full roofing and building-envelope system.
Details at Edges and Penetrations Prevent Leaks
Water often enters at transitions, not in the middle of a roof field. Drain bowls, scuppers, gutters, parapet caps, skylights, curbs, pipes, and wall flashings need to direct water out without leaving exposed seams or reverse laps.
For low-slope systems such as EPDM, TPO, modified bitumen, and hot roofing, the membrane must be tied into drains and edge details according to the material system requirements. Mixing incompatible materials or using temporary patch methods around a drain can lead to early failure. A repair should be judged by whether it restores the water path, not just whether it stops a leak for the moment.
On shingle roofs, drip edge and underlayment at eaves and valleys help protect the deck when wind pushes water where it does not normally belong. Gutters should sit at the right height to catch runoff without interfering with the roof edge. If they are installed too high, they can trap water and ice behind the gutter line.
Maintenance Keeps a Good Design Working
Even a correctly designed system needs routine attention. Leaves, rooftop debris, tennis balls, plastic bags, nesting material, and construction debris can block drains and leaders quickly. On a commercial roof, a blocked primary drain can turn a routine rainstorm into an urgent service call.
Property owners should have gutters cleaned and secured regularly, especially near mature trees. Flat roofs should be inspected at least twice a year and after major storms. Maintenance should include clearing drains and strainers, checking scuppers, looking for standing water, examining seams around drainage details, and confirming that leaders discharge where intended.
Watch for warning signs: repeated ceiling stains in the same area, gutter overflow, loose leaders, peeling paint near roof edges, soft spots in roofing, cracked drain flashing, or water marks below parapets. Taking photos before and after cleaning or repair gives owners a clear record of conditions and helps track recurring problems.
When a Drainage Upgrade Makes Sense
A drainage upgrade is worth considering during roof replacement, major waterproofing work, façade restoration, or whenever leaks keep returning near drains and edges. This is the best time to correct slope, replace aging drain hardware, add overflow protection, rebuild failing gutters, or reroute leaders that discharge in the wrong place.
Global City Restoration evaluates the roof surface, drainage points, flashing, gutters, and leaders as one protective system. For NYC property owners, that practical approach helps avoid spending money on a new roof while leaving the water-management issue underneath it unresolved.
If water is pooling, overflowing, or showing up inside the building, do not wait for the next storm to provide more evidence. A clear drainage path protects the roof, the structure beneath it, and the people using the property every day.